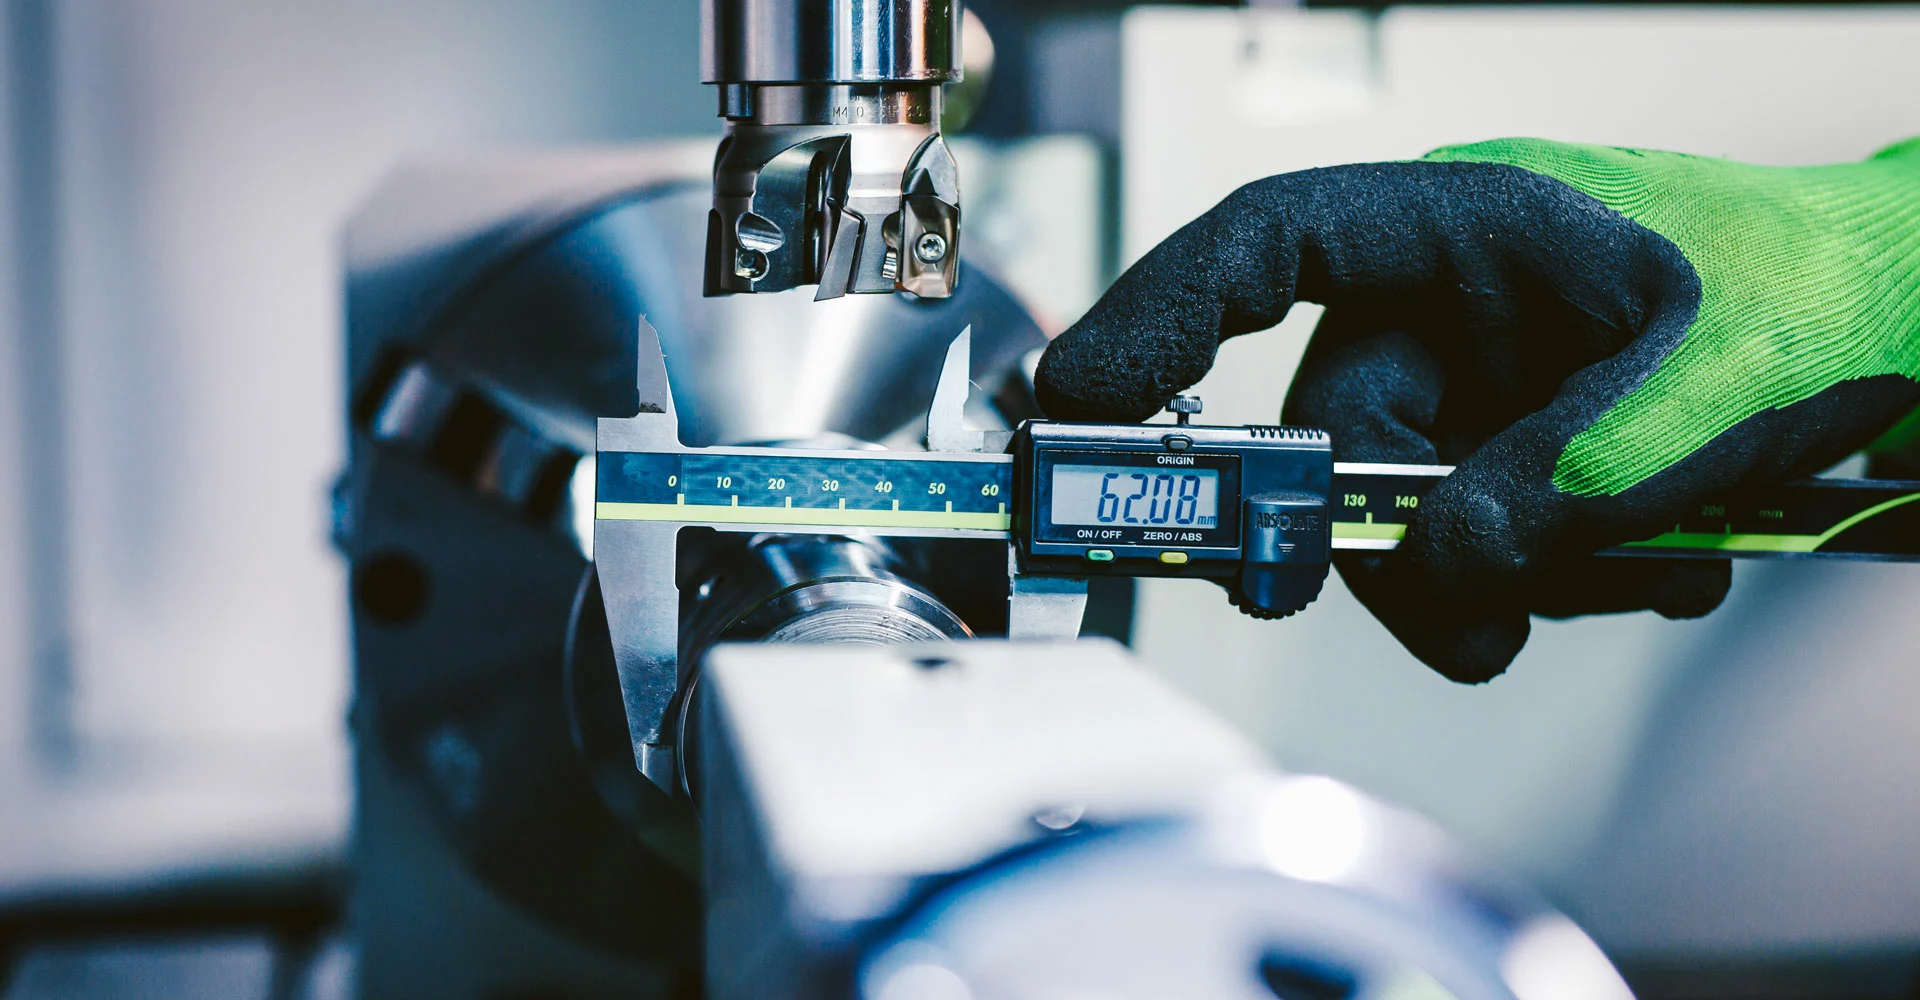
A person is measuring an object as part of a production inspection
Quality Management

VDA Volume 5 – Standard Work for Measuring and Inspecting

Manuel Klötzer / 21.07.2023

In order to avoid wrong decisions with far-reaching consequences when inspecting industrially manufactured parts, the measuring and inspection equipment used must be demonstrably suitable for the intended purpose. ISO 9001 already stipulates that organizations "shall determine and provide the resources needed to ensure valid and reliable results when monitoring or measuring is used to verify the conformity of products and services to requirements." IATF 16949 also builds on ISO 9001 in this regard.

Companies that are certified to ISO 9001 or IATF 16949 must accordingly address their inspection and measuring equipment and processes: Measuring systems and measurement processes must be adequately assessed and their capability for use in manufacturing must be proven. In order to describe the procedures for determining the measurement error, several guidelines respectively standards have been developed in parallel. One of these standards is VDA Volume 5, published by the German Association of the Automotive Industry, which is accordingly primarily aimed at companies in the automotive sector and last underwent a comprehensive revision in 2021. It offers practical assistance in the determination of measurement uncertainties.

Avoiding Wrong Decisions by Using Suitable Test Equipment

Due to its regular operation or high wear caused by use, damage or other influences, the test equipment is subject to a time-dependent alteration. As a result, they become inaccurate and may deliver faulty results - with direct effects on the production quality. Under certain circumstances, either good parts are declared as rejects and destroyed or defective products are delivered to customers, which is most likely accompanied by rework, complaints or recalls.

The measurement results recorded during the use of inspection equipment are always subject to a certain degree of uncertainty due to various influencing factors. The current edition of VDA Volume 5 takes a closer look at the numerous influencing factors. These include, for example, the person performing the test with his or her qualifications, physical and mental constitution, and other characteristics. The measurement uncertainty indicates whether the inspection equipment is capable of reliably determining measured values. VDA Volume 5 specifies a limit value for this, although companies can also set tighter limits for their suppliers.

The measurement process can also be replaced by an attributive evaluation process in which, for example, a gauge or a visual inspection is used to determine an evaluation result such as "OK" or "Not OK". In the latest edition, the terms " measuring" and "attributive evaluation" have been more clearly distinguished from one another than before. The risks of an attributive evaluation and the compilation of an inspection lot are also dealt with in greater detail. The corresponding procedures are also described in detail in terms of their scope of application, objective, execution, and the respective advantages and disadvantages.

Guideline for the Entire Inspection Process Management

A completely new focus is placed on the entire inspection process management, which is already clear from the title "Measurement and Inspection Processes - Capability, Planning and Management" of VDA Volume 5. For example, the new edition for the first time deals in detail with the people involved in inspection process management: Ten roles with their respective tasks and competencies are described - from "process owner inspection process management" via "calibration laboratory worker (internal or external)" to "process auditor".

Another sub-topic of inspection process management is risk-based assurance. For example, in an inspection process where the probability of an incorrect decision is low and where this decision would only lead to minor consequences, the effort required for the ongoing examination of the inspection equipment can be reduced and costs saved as a result. One of the possible methods for risk assessment is the FMEA.

Documentation requirements are also an issue for the first time: Basically, the company must prove the capability of the inspection equipment and processes to its customer. Since this proof of capability relates to a specific point in time, it is not a one-time procedure: According to ISO 9001, proof of suitability must also be provided on an ongoing basis.

Inspection Equipment Management and Calibration

Inspection equipment management is also part of inspection process management: In order to "ensure the quality, reliability and operational capability of the inspection equipment", VDA Volume 5 regulates, among other things, the traceability, calibration and monitoring of inspection equipment.

Since many other topics and processes have been newly included, specified or supplemented in addition to those described, the volume has grown considerably in scope and has also been given a practical handbook with case studies. As a result, it now offers a continuous thread from inspection process management through the measurement and inspection process capability procedure to proof of ongoing capability.

Ultimately, VDA Volume 5 is one of several options for meeting the requirements of ISO 9001 and IATF 16949. Alternative standards are, for example, AIAG MSA, which originates from the USA and is also widely used in the automotive sector. Often, a supplier must follow different guidelines for many different companies: If organizations have customers from both the German and American regions, MSA and VDA 5 are often required. VDA Volume 5 addresses this issue by referring to other standards in many places and also describing strategies for harmonization with MSA. Thus, the current edition of VDA Volume 5 now lives up even more to its claim as "one of the standard works on measurement and inspection process capability".

Measuring and Inspecting with Software Support

CAQ software from Babtec in action

The integrated quality management software BabtecQ helps you to guarantee the quality of your measurement processes and ensure the trustworthiness of your inspection equipment by providing Gage Management and Gage Capability Test.

Comments

No comments

Write Comment

* These fields are required